Creating an Azure SQL Database: A step-by-step guide
When you use SQL, it’s about managing your data in the database. However, you might also expect that you can access your database from wherever you are. If you use SQL programs, you would primarily achieve the former, but it’s less relevant to the latter. SQL is a powerful language for managing data in a database; however, it is not specifically designed for remote access. What we want is both a database and a cloud platform so that I can work with the database from anywhere. In this regard, Microsoft Azure is one of the suitable platforms. Azure SQL Database is a fully managed relational database service that provides high availability, scalability, and security in the cloud. You can access your Azure SQL database from anywhere in the world using a variety of tools and devices. Of course, MS Azure is not the only suitable platform I mentioned. Google and Amazon also offer similar cloud services. You can choose a platform according to your preference.
For example, when you check for possible databases from Excel, you’ll find many SQL databases. Since Azure is from Microsoft, it’s much easier to access the database from Excel. Therefore, I prefer MS Azure.
Today, I’ll discuss the step-by-step setup of an MS Azure SQL database.”
1. Access to Microsoft Azure and SQL databases
First, please go to the below website, and create your Microsoft Azure account.
https://portal.azure.com
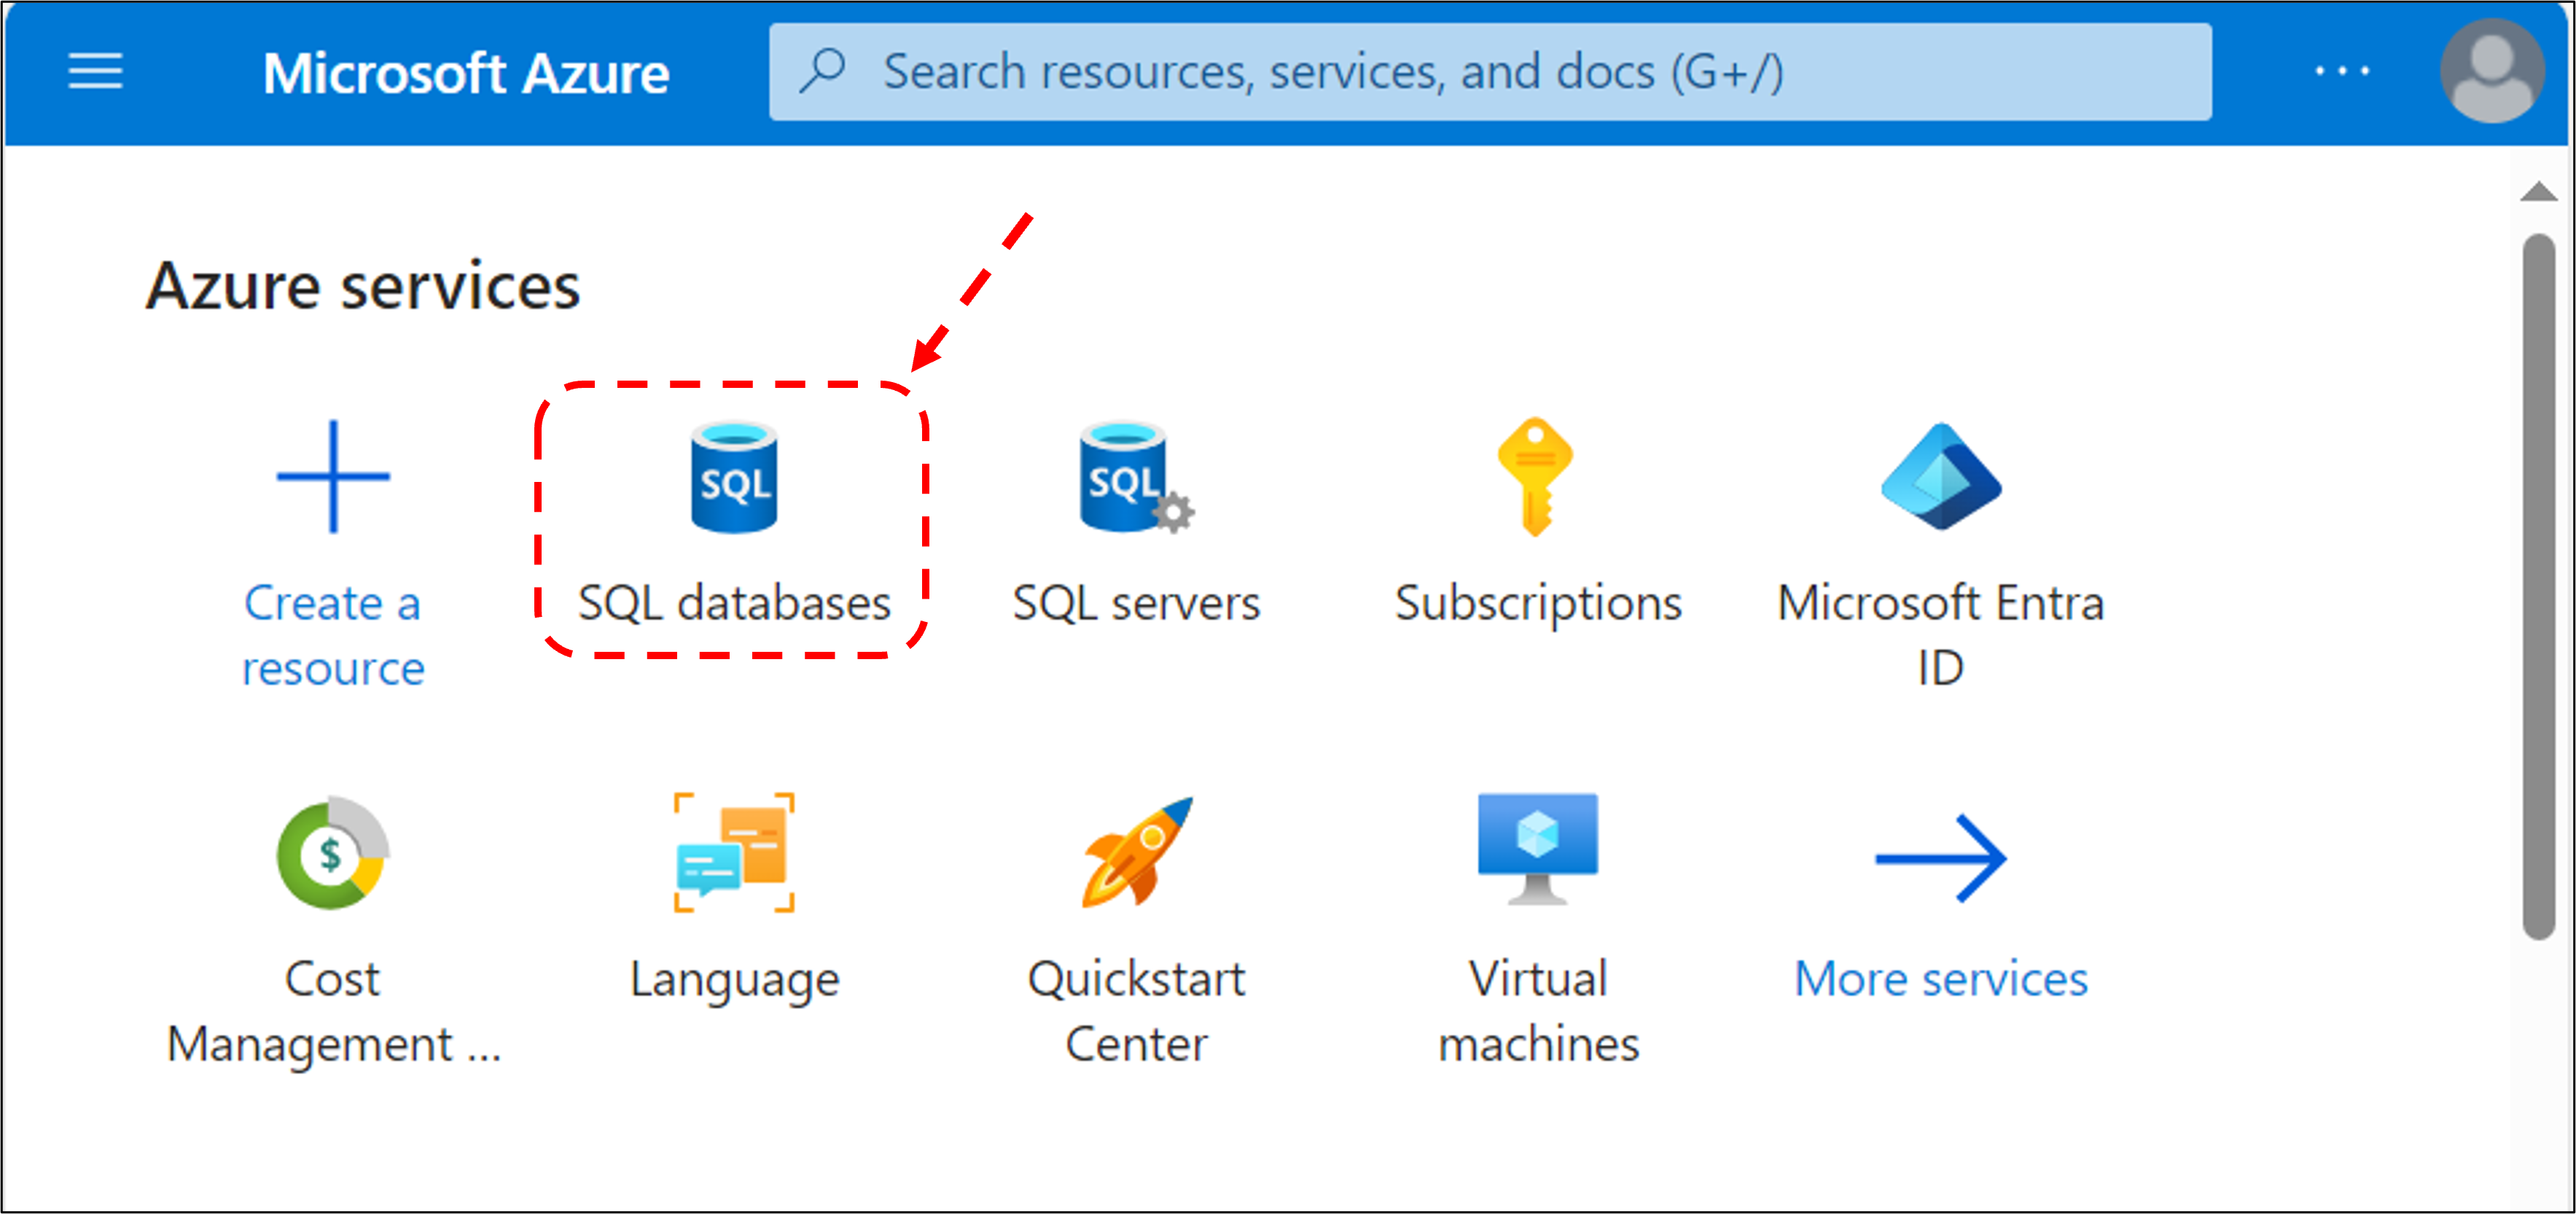
and select SQL databases.
2. Create SQL databases
When you select SQL databases, you can see the below page. Now, let’s create SQL databases.
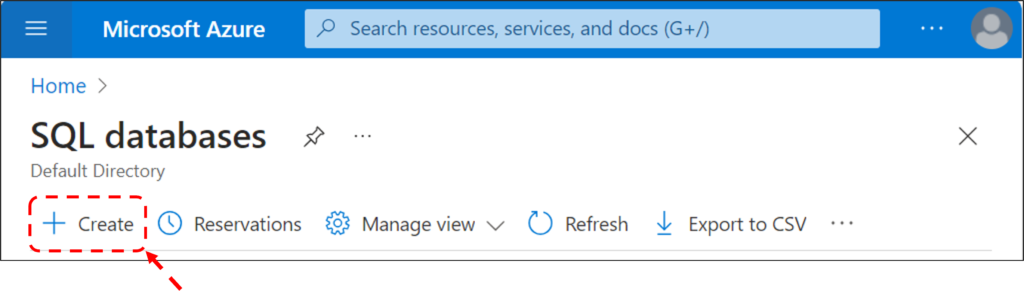
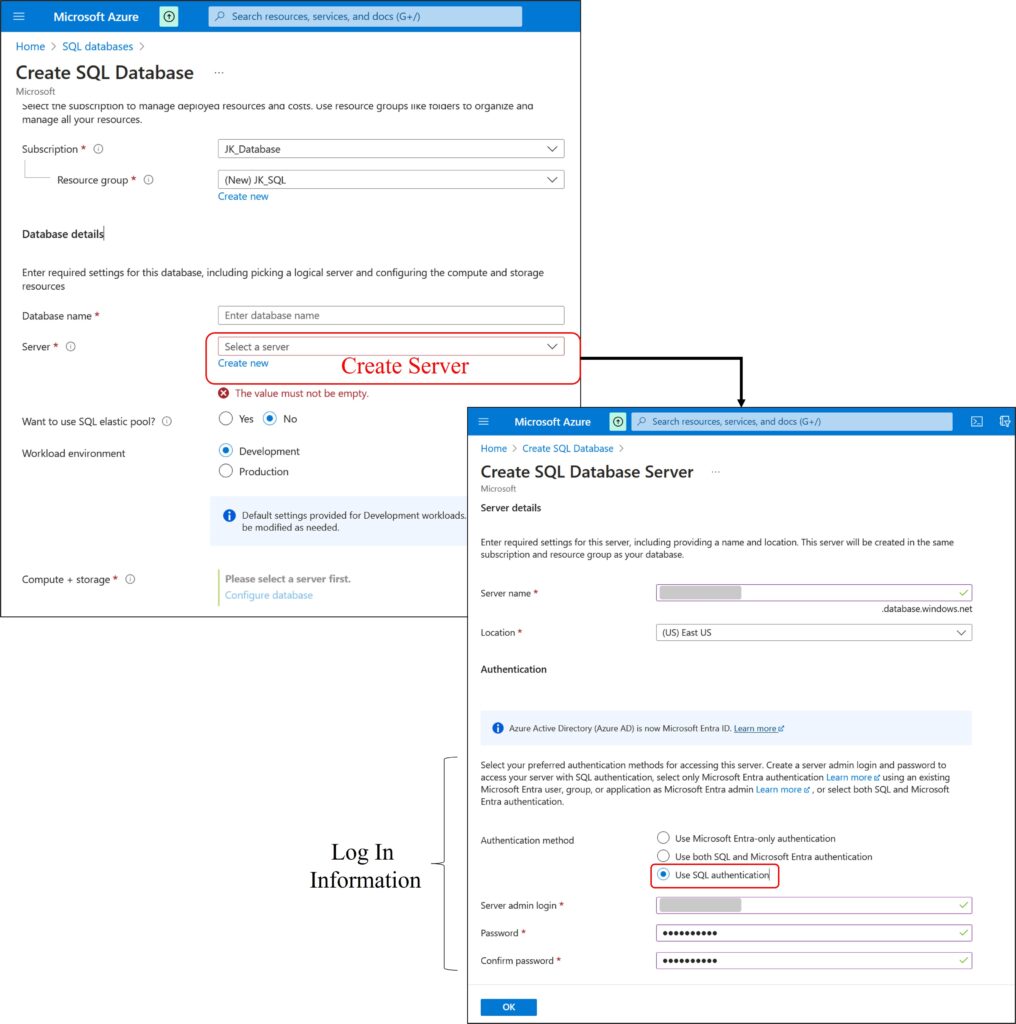
If you click the ‘Create’ button, you can fill out Project details.


First, you need to choose the Resource group name. This is not important. You can choose a simple name. Then, you also need to choose Database name. This is not also important. You can delete this this database and create a new database later. So, just choose a simple name.
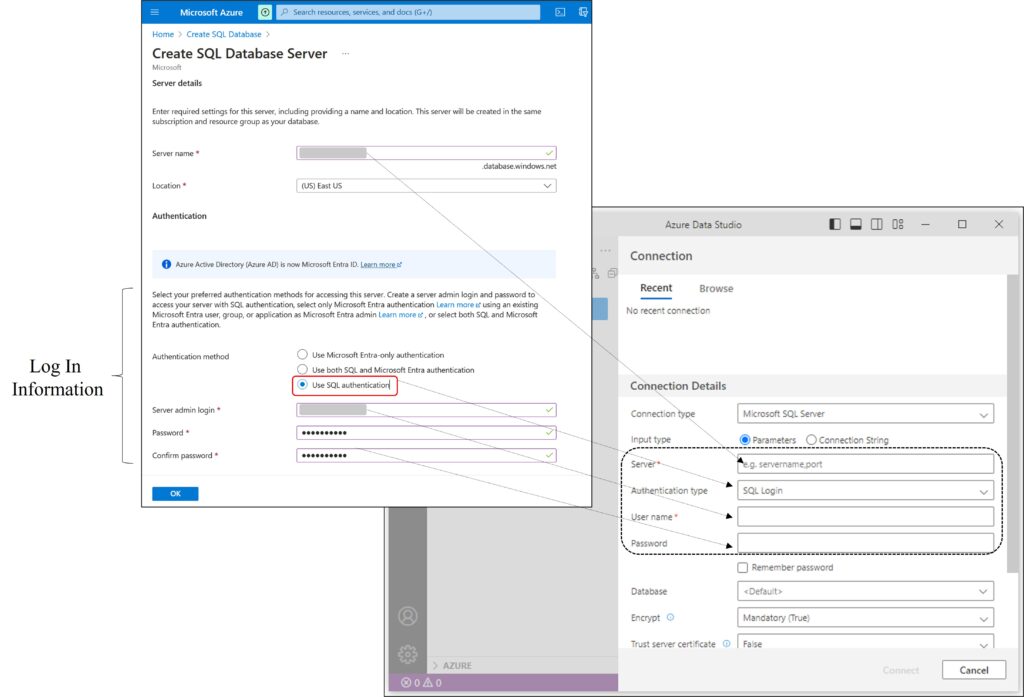
3. Create SQL Database Server
From now, this is an important step!!!
You need to choose the SQL server name. This name is crucial because it will serve as your login ID. The server name will be xxxxx.database.window.net, which is what you’ll use to access MS Azure. Please select the name and password carefully. For the Authentication method, choose Use SQL authentication.
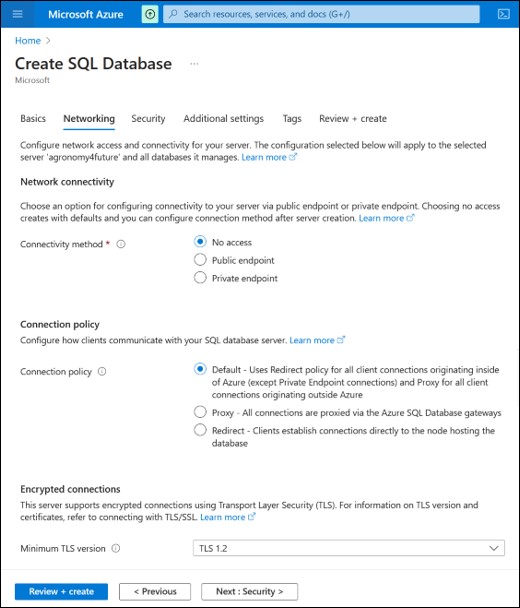
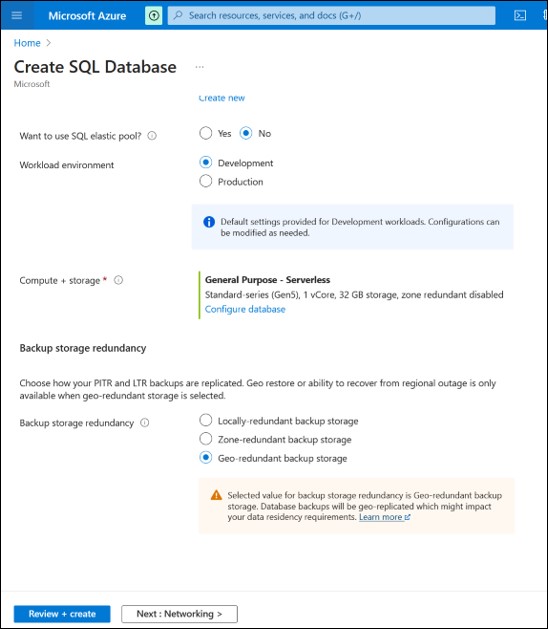
The next steps will remain as default, so simply click the Next button until you see the summary page. Click the Create button.

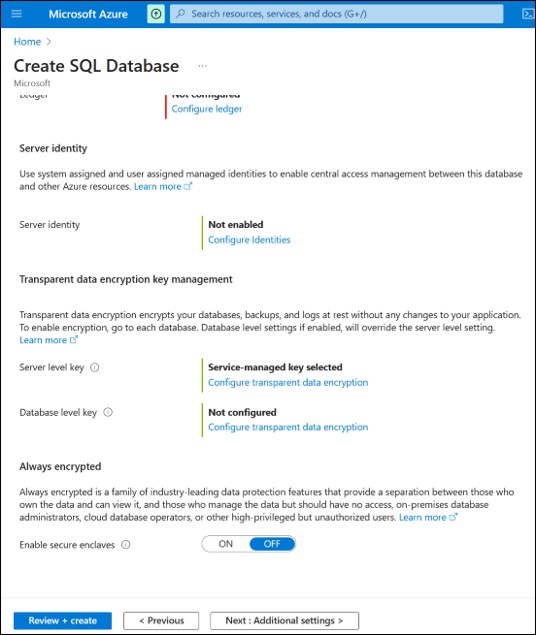
You have successfully set up the MS Azure SQL Database. Upon returning to the Microsoft Azure webpage, you’ll see that the necessary resources have been created.
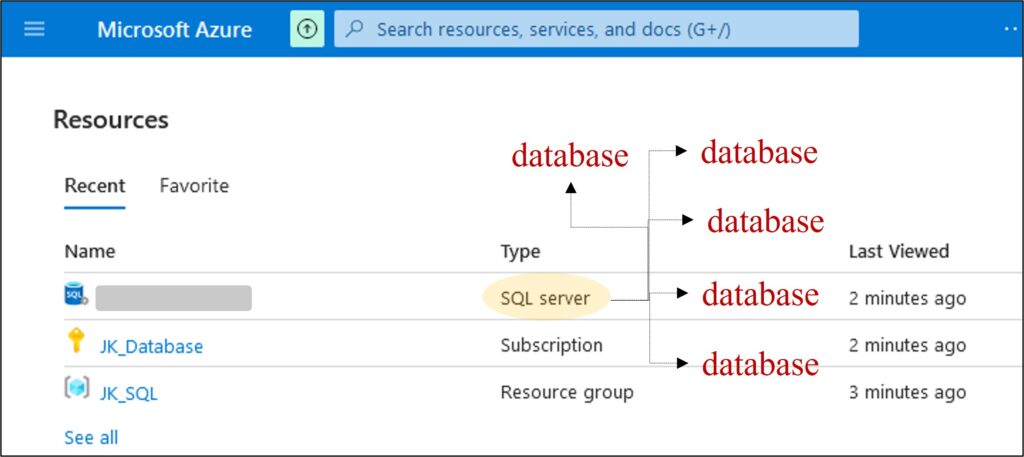
This serves as the basic format. Perhaps, you can see the one database you created during the process. Within the SQL server, I’ll create multiple databases to manage my data.
4. Download Azure Data Studio
Let’s download ‘Azure Data Studio’ for desktop-based work
https://azure.microsoft.com/en-us/products/data-studio
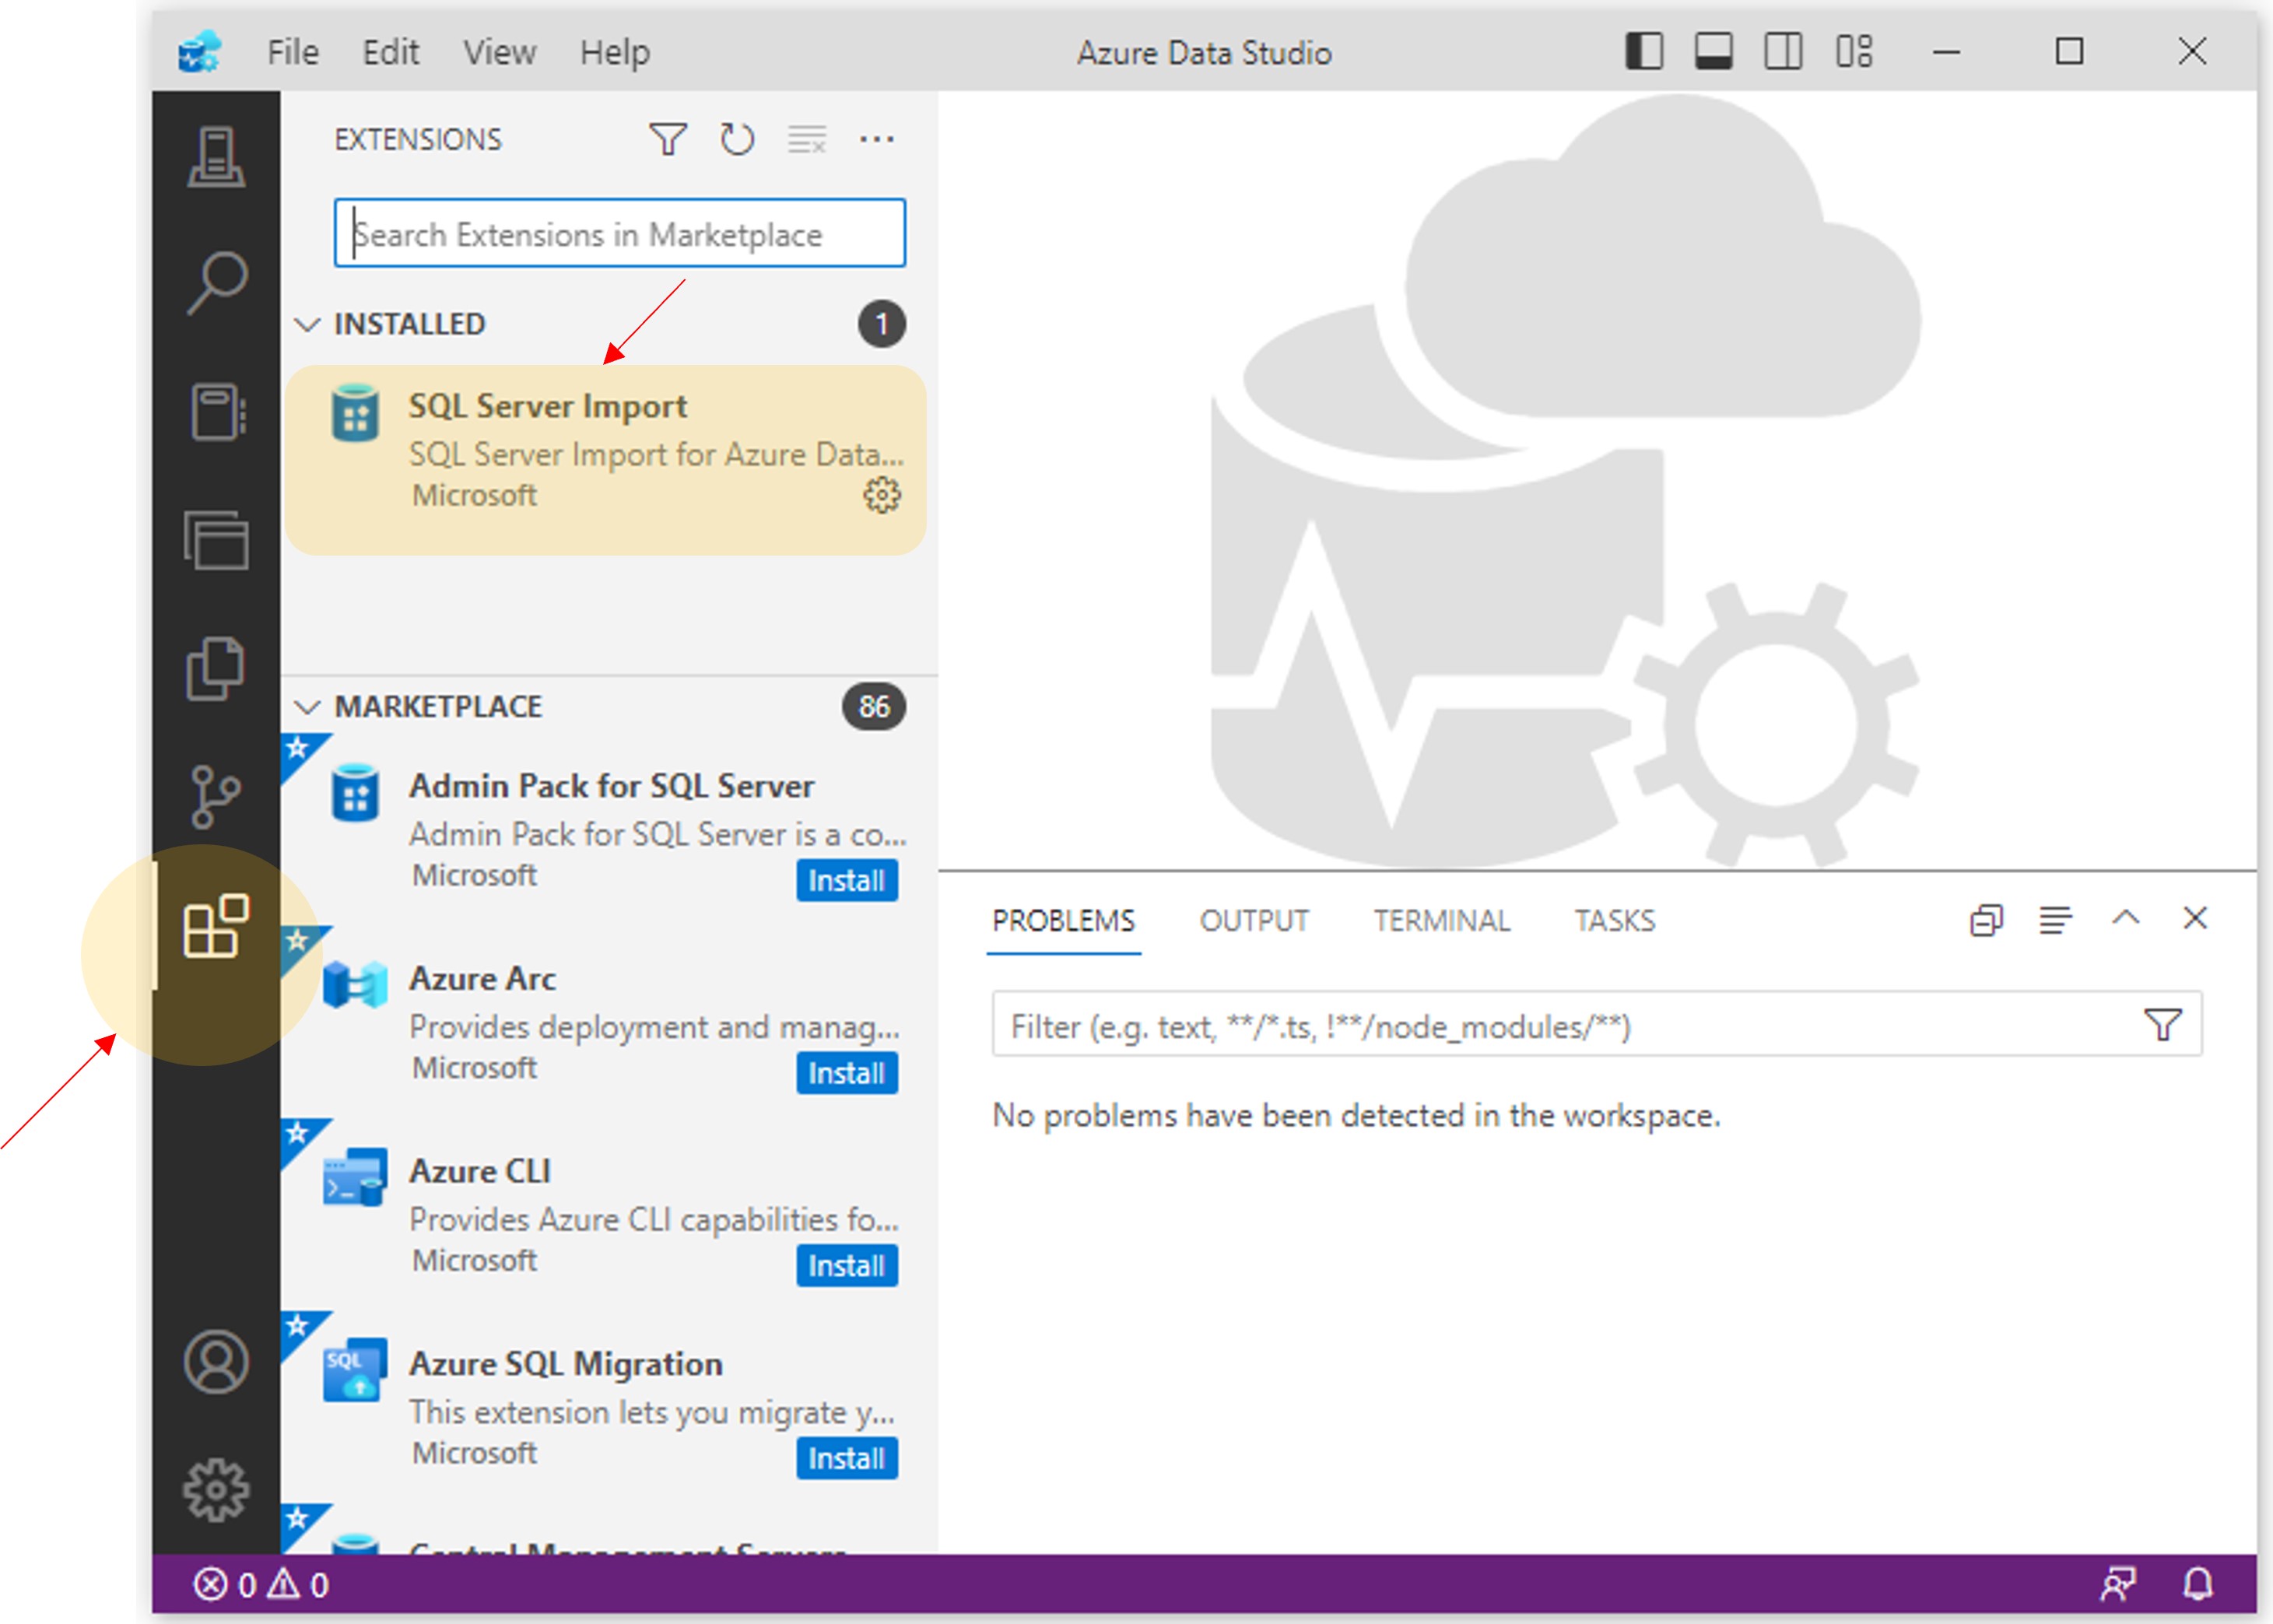
When running Azure Data Studio, first go to Extension and install SQL Server Import. Next, navigate to Connections and click New Connection. A pop-up window will appear.
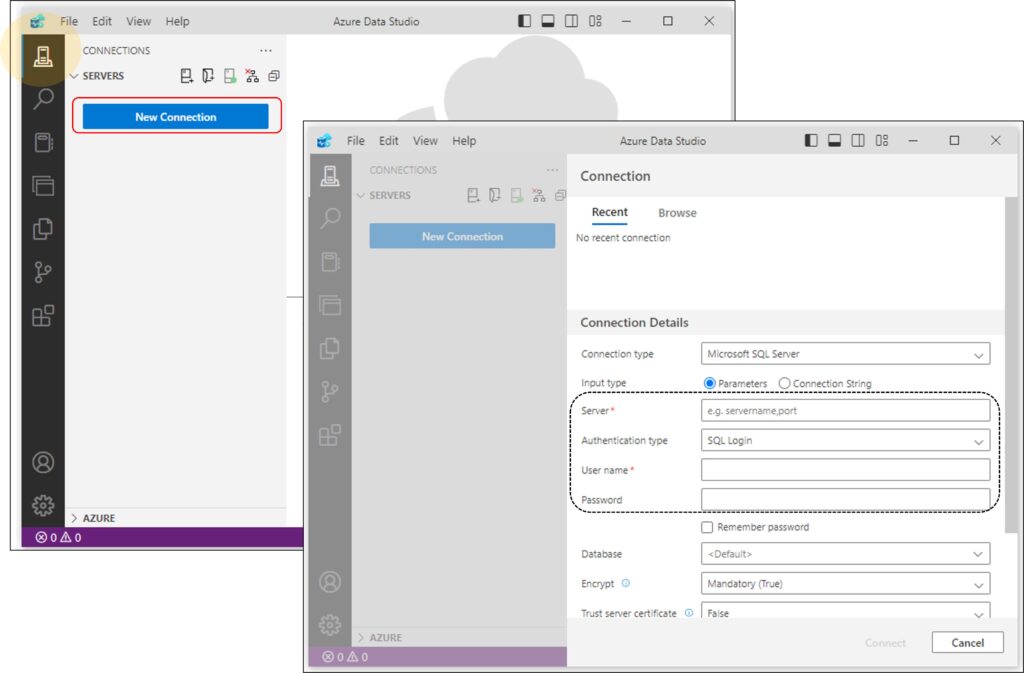
Here, you need to input your login information, matching it as shown below.
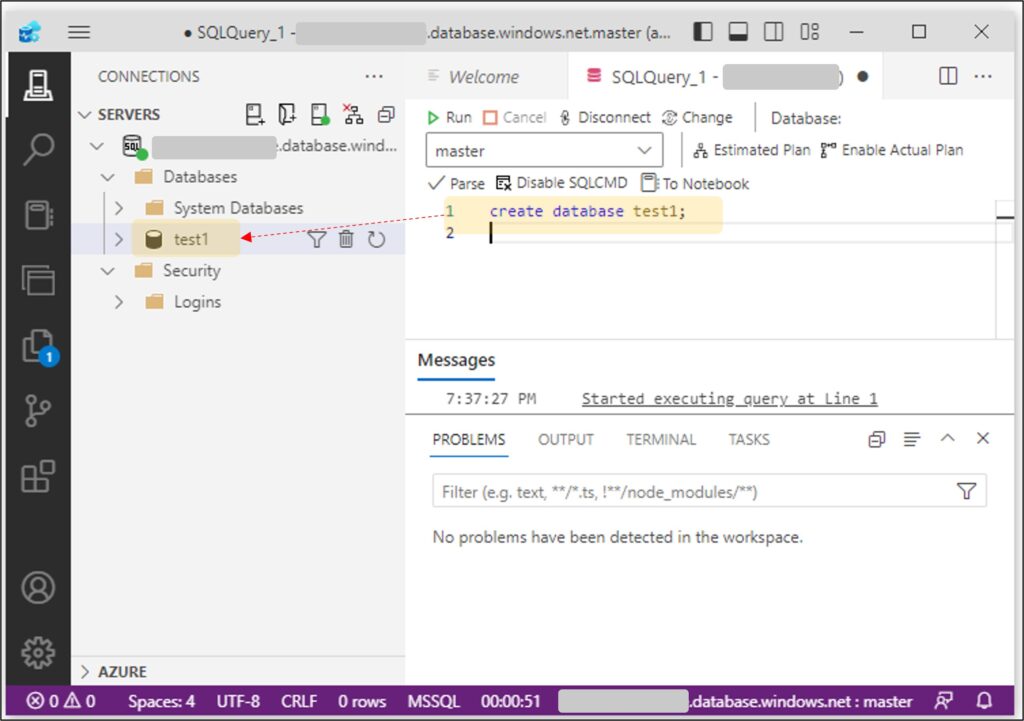
After logging in, let’s practice some SQL queries. Go to File and choose New Query, or you can use the shortcut Ctrl + N.

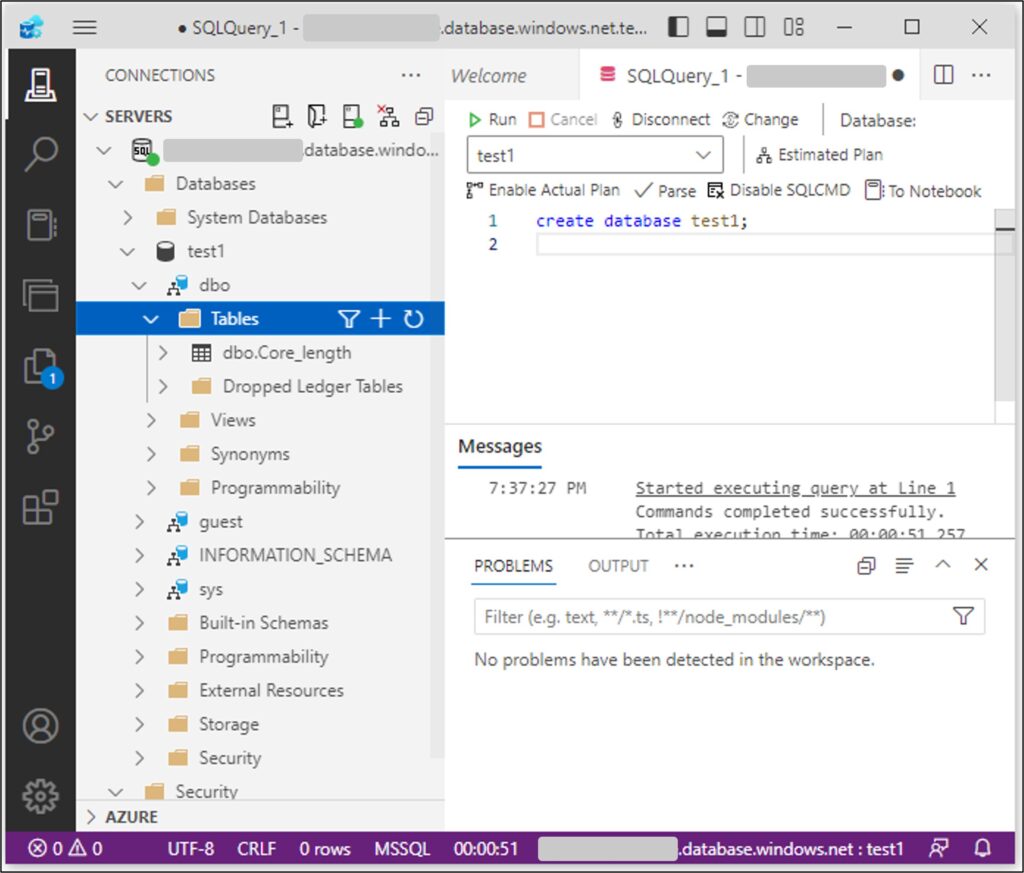
When a new SQL query window opens, type the following code to create a database named test1.
create database test1;and then refresh. Then, you can see the new database: test1.
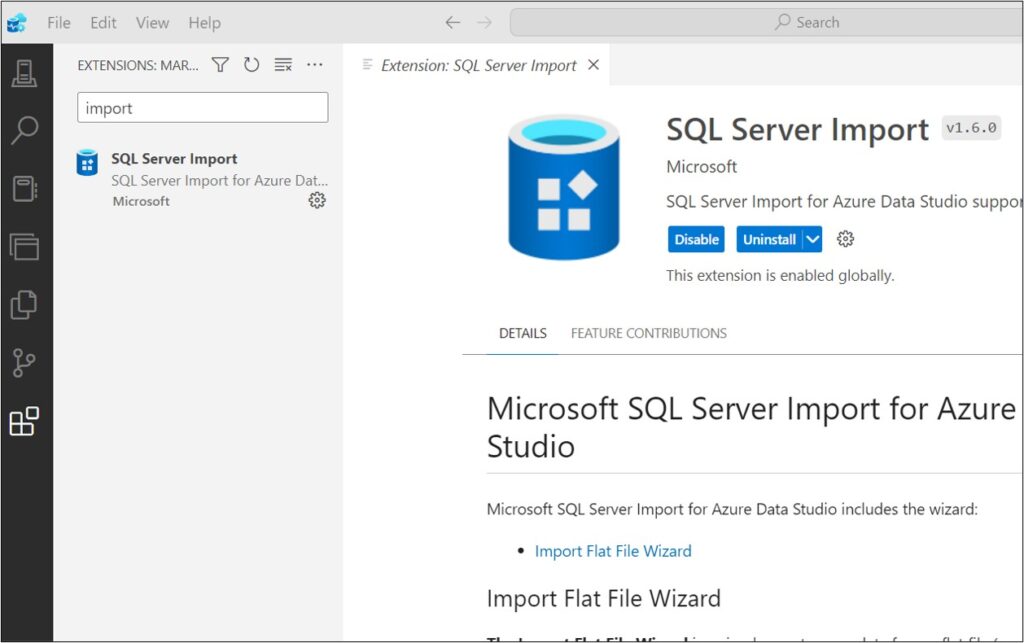
5. Import Excel file to Azure Data Studio
I’ve created a database called test1. Now, let’s import some data into this database. First, you need to install SQL Server Import.
Next, we can upload excel file. You can use the shortcut Ctrl + I.
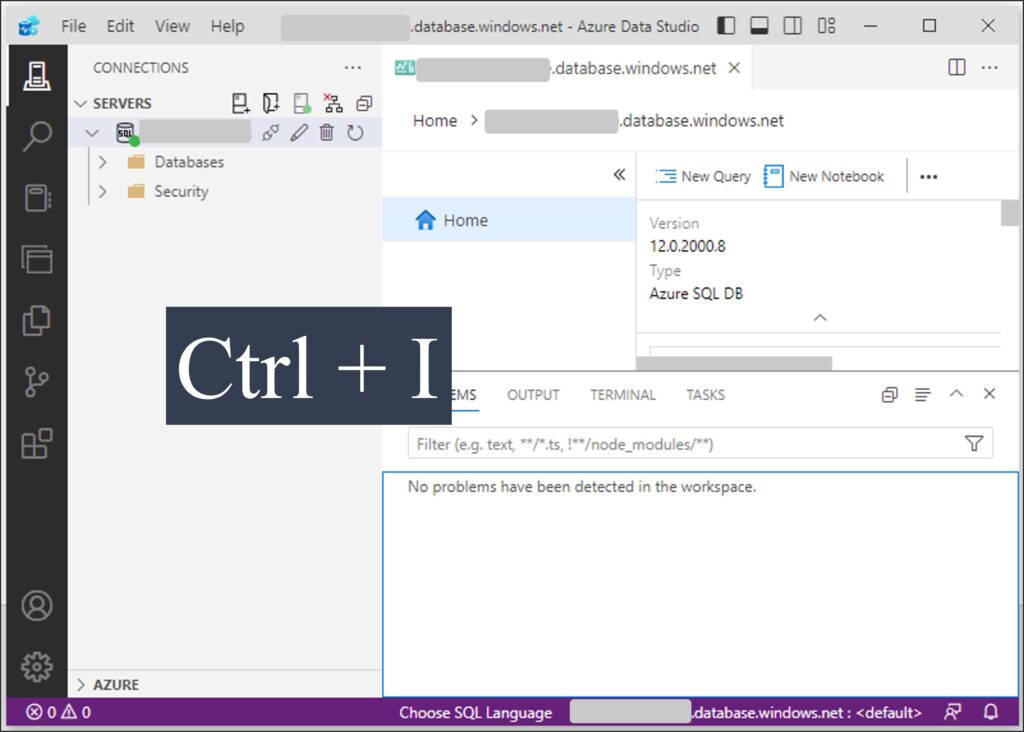
Choose the test1 database I created and upload the Excel file Core_length.
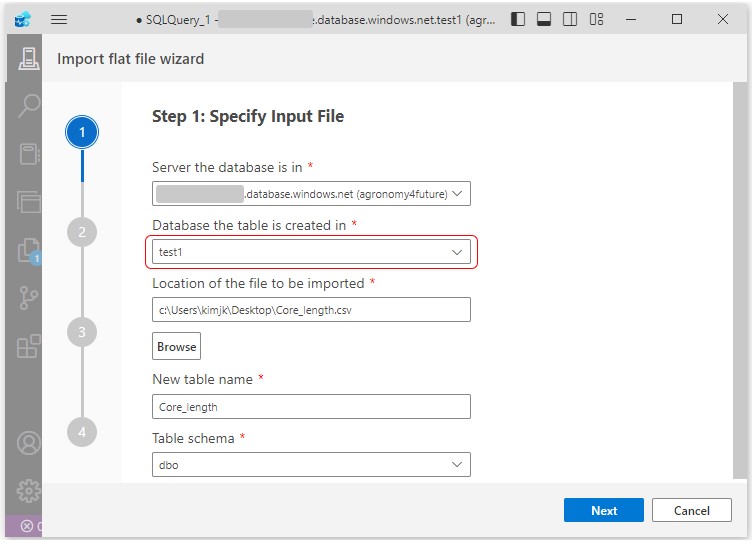
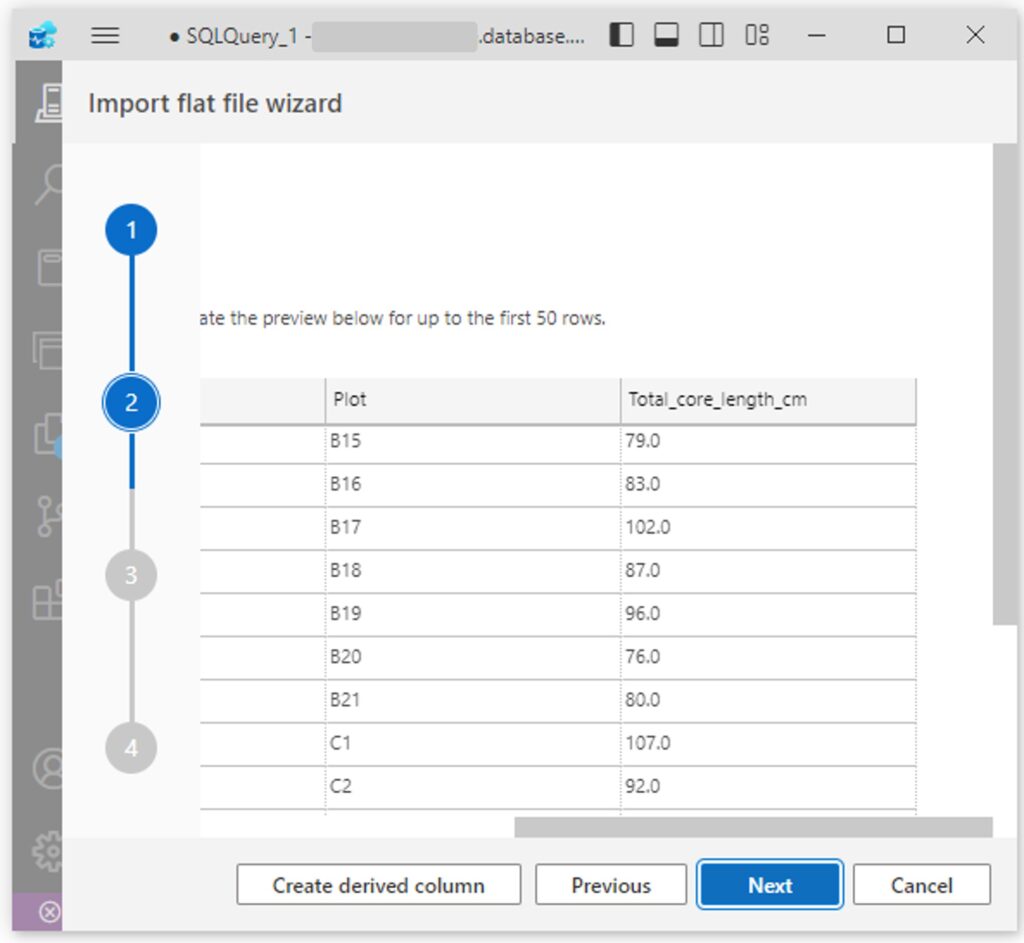
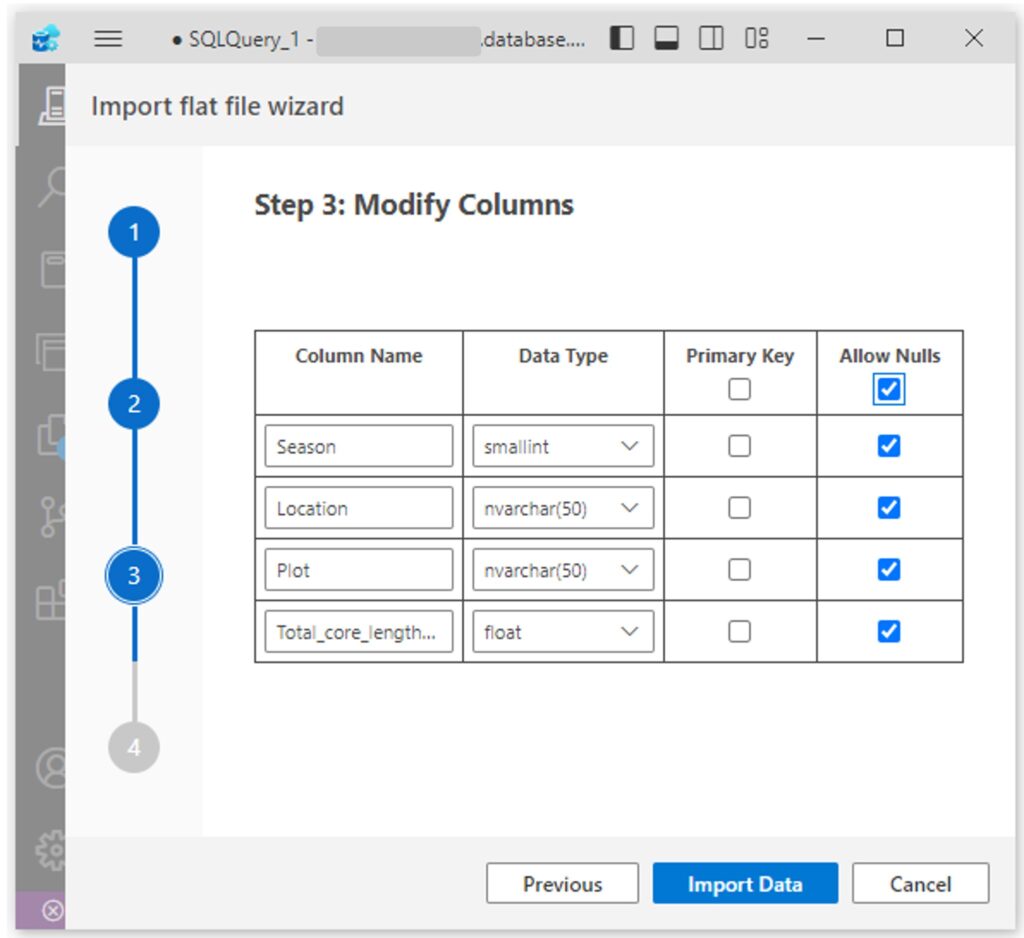
You can review the data you’re about to upload. You’ll need to specify whether a column should be a ‘Primary Key’ and ‘Allow Nulls.’ I won’t explain ‘Primary Key’ at this moment, but for ‘Allow Nulls,’ if your data includes empty cells, it’s advisable to select this option.
You can see the uploaded data table: dbo.Core_length
6. Saving Data in Azure SQL Server
From now on, you will witness the capabilities of MS Azure SQL. In the introduction, I mentioned that SQL is a powerful language for managing data in a database; however, it is not specifically designed for remote access. What we need is both a database and a cloud platform, allowing us to work with the database from anywhere. In this regard, Microsoft Azure is one of the suitable platforms.
Now, let’s return to the Microsoft Azure website.
https://portal.azure.com
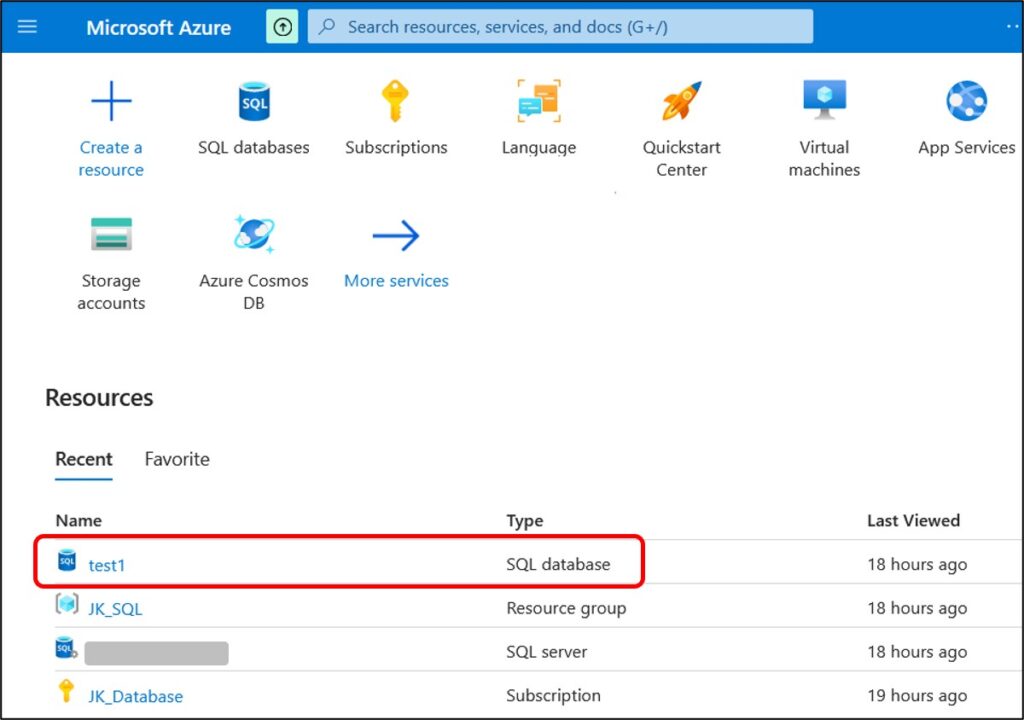
Now, you can access the test1 database I created in Azure Data Studio. Simply click on the test1 database.
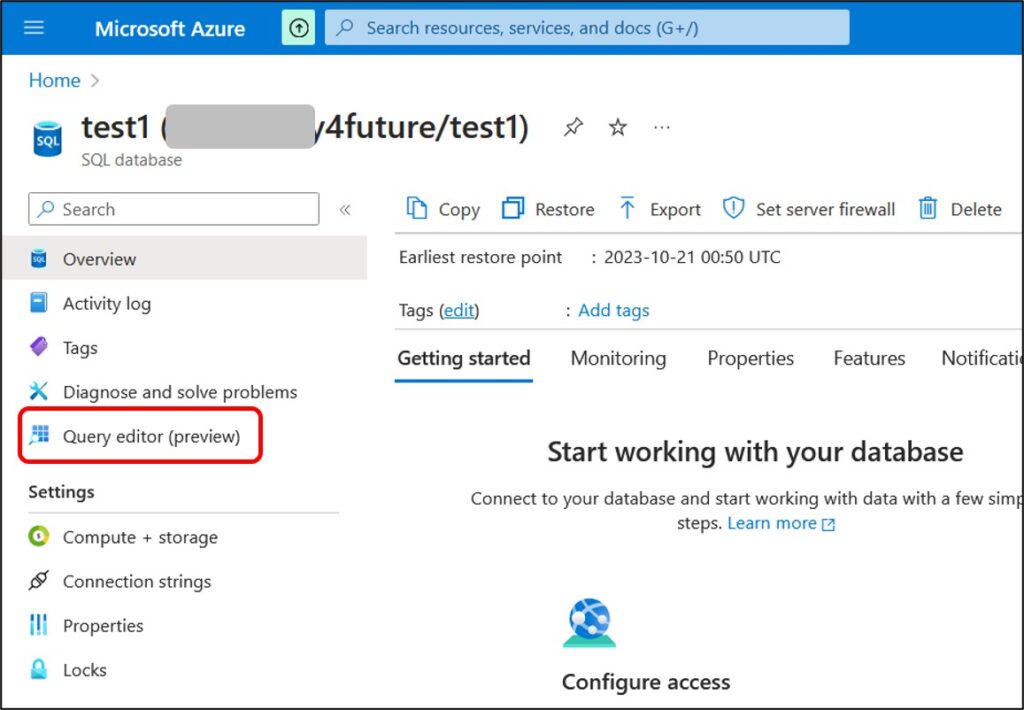
Next, select Query editor (preview) to open a new query window. In this window, you’ll find the data table dbo.Core_length that you uploaded from Azure Data Studio.
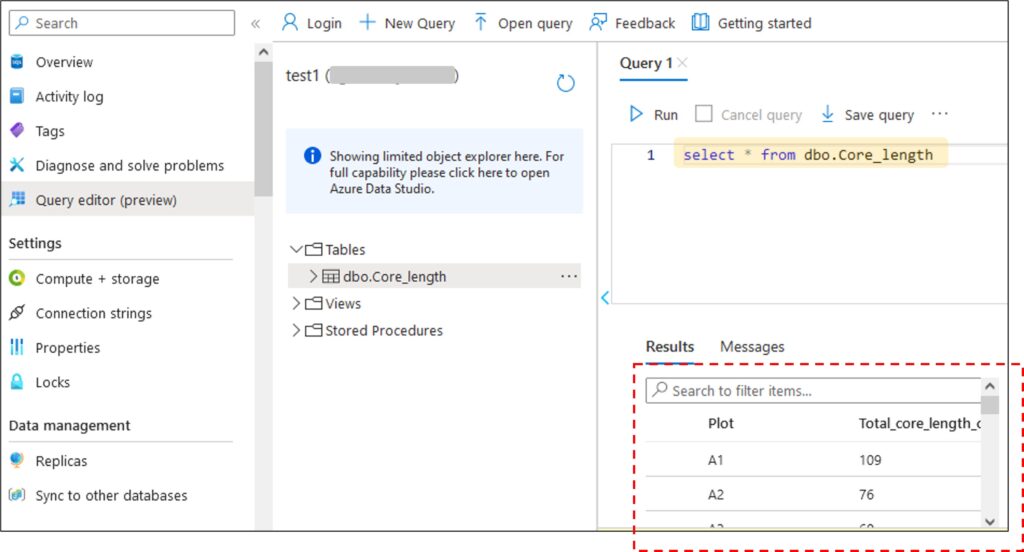
Now, let’s type the following code to view the data.
select * from dbo.Core_lengthYou can now view the data as shown below:
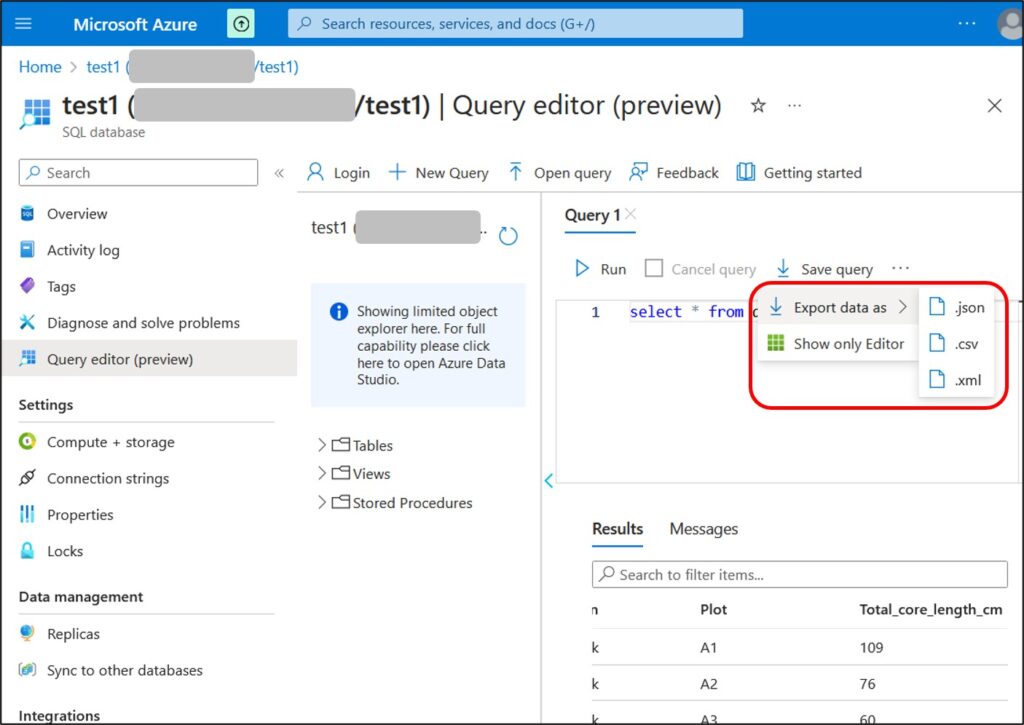
You can then download the data to your PC.
MS Azure SQL Server is a powerful platform for managing your data in a web-based cloud database. I created the test1 database, uploaded Excel data in my office, and later accessed and downloaded this data on my PC at home. With MS Azure SQL Server, you can access your data from anywhere, and that’s one of its greatest strengths.
Extra tip!!
MS Azure SQL offers another excellent function.
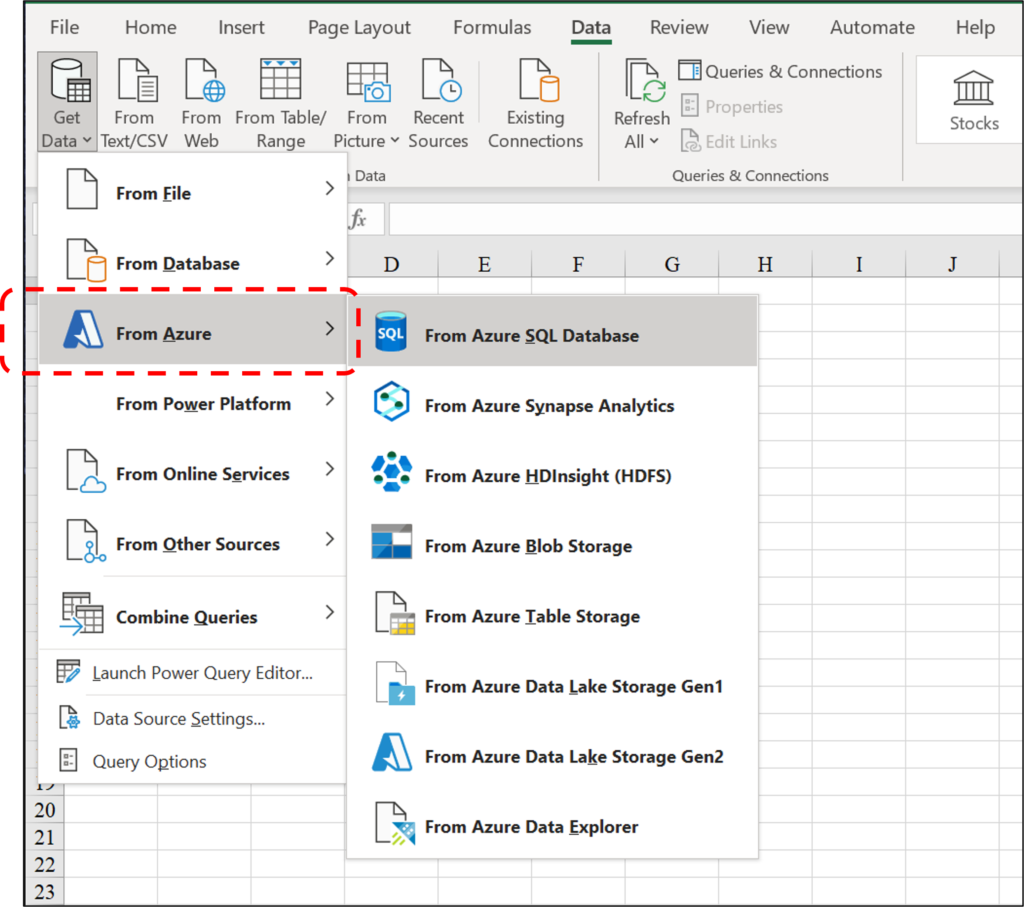
In Excel, navigate to Data → New Query → From Azure → From Azure SQL Database.
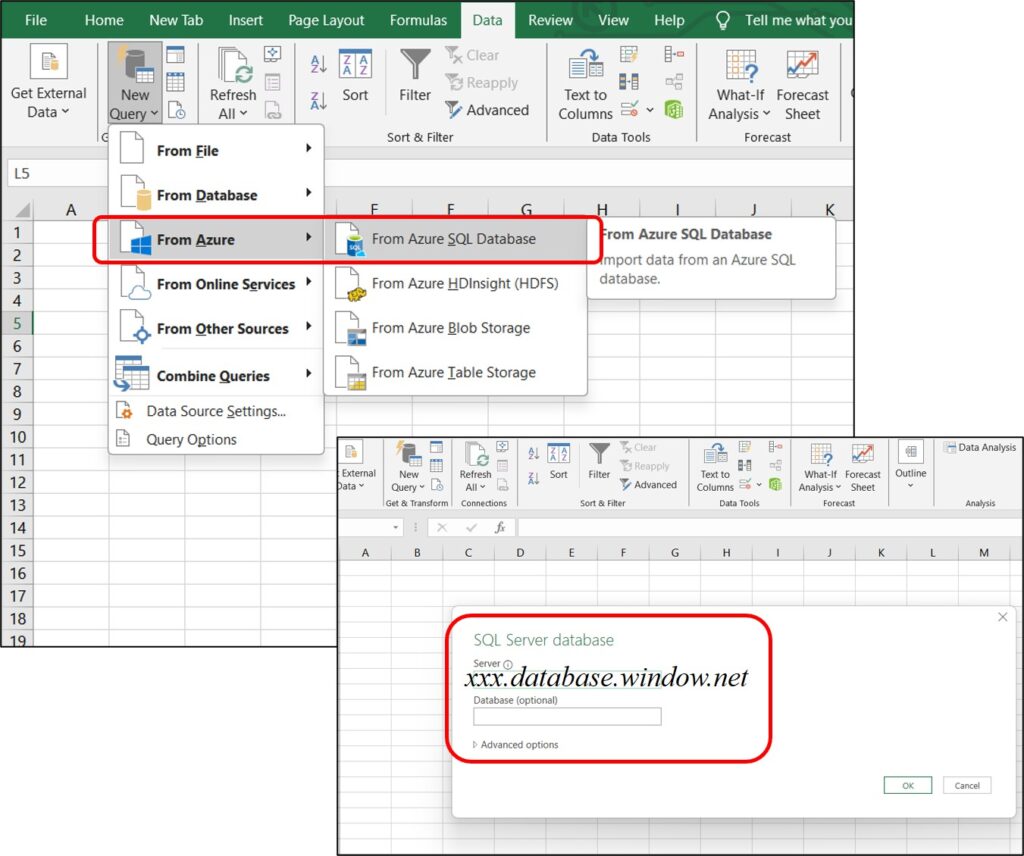
Then, input your SQL Server database as follows: xxxxx.database.window.net.

A window will pop up. Select the Database tab and enter your username and password. You will then see the test1 database. When you click on test1, you can access the data, Core_length, from the SQL server.
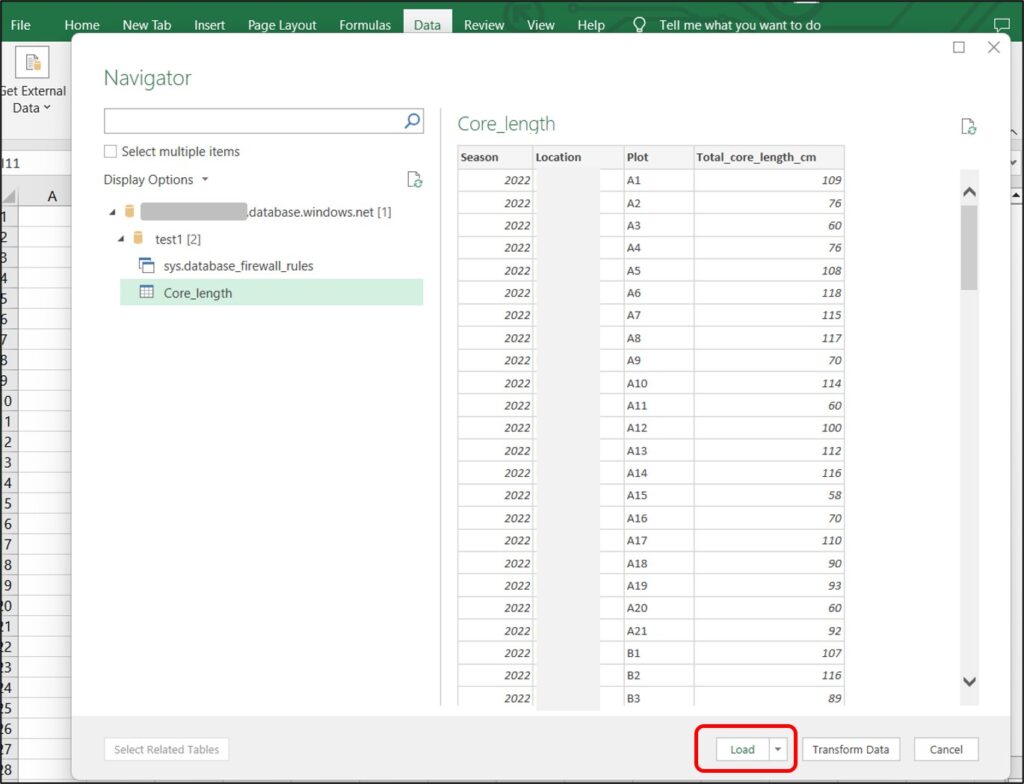
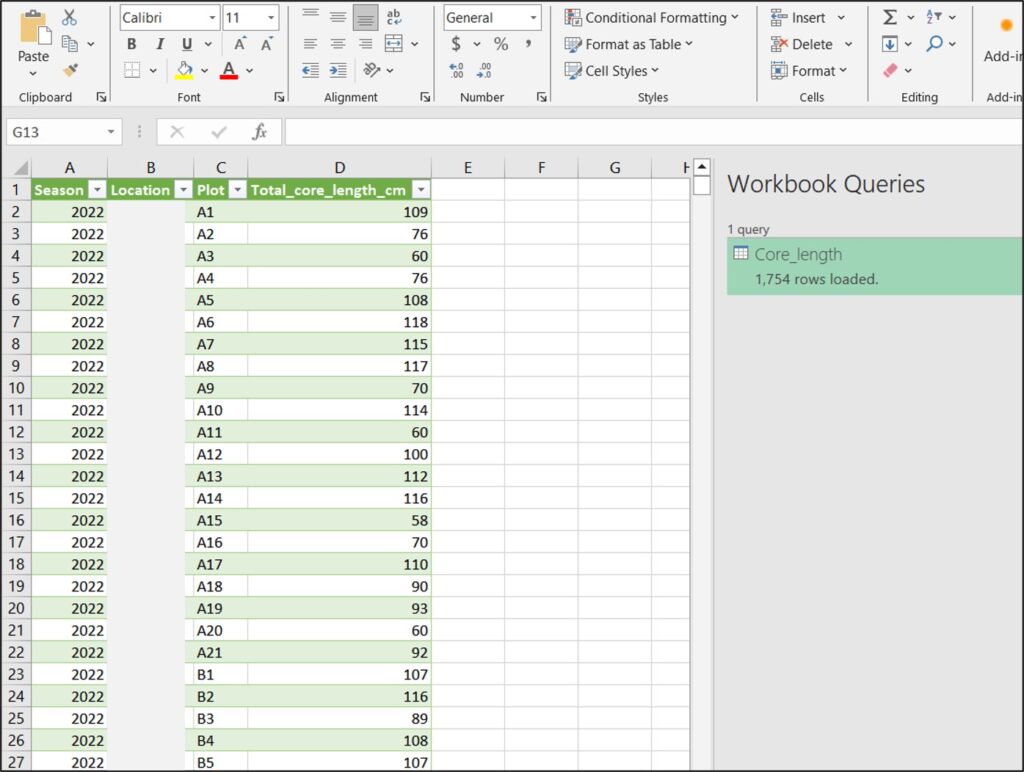
Let’s download this data now. Click the Load button, and you’ll see the data loading from the SQL server.
From now on, you can access your database and work on your data from anywhere.